18 Unique Challenges Across Coastal Terrain
Each hole has been shaped by wind, slope, and water—demanding precision, creativity, and strategy.
Hole 1
Par: 5 | HCP: 7/7
Black: 525
Blue: 501
White: 439
Red: 411
This is a 3 shot hole under most conditions, especially into the NW prevailing wind. A tee shot over 200 yards towards the right-hand waste bunker is best. Tree protects the left side above the left-hand waste bunker.
Hole 2
Black: 341
Blue: 321
White: 294
Red: 253
Lay-up right of the left-hand waste bunker at the base of the hill. The second shot is very uphill so play one more club than normal.
Hole 3
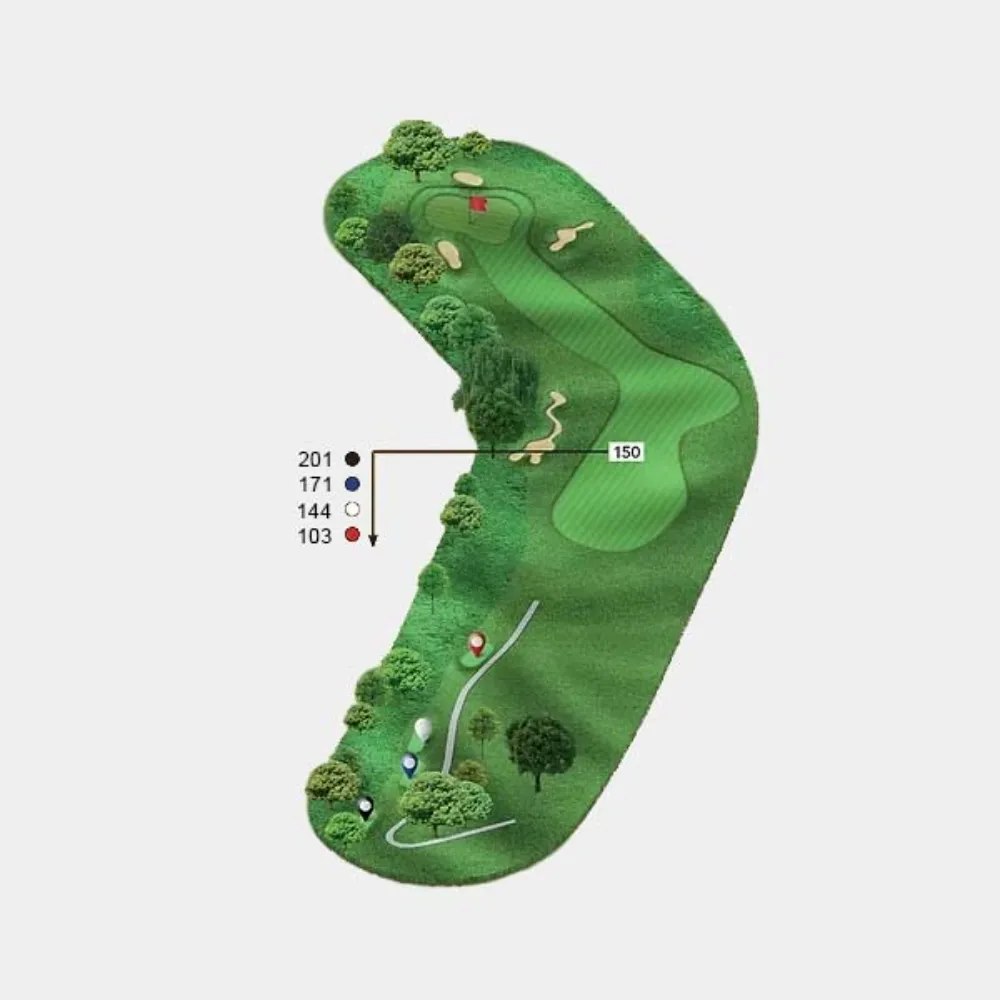
Black: 224
Blue: 197
White: 171
Red: 125
This hole is long and difficult, especially into the wind. There is more trouble left than right, and short is very open and plays well. Par is a good score here.
Hole 4
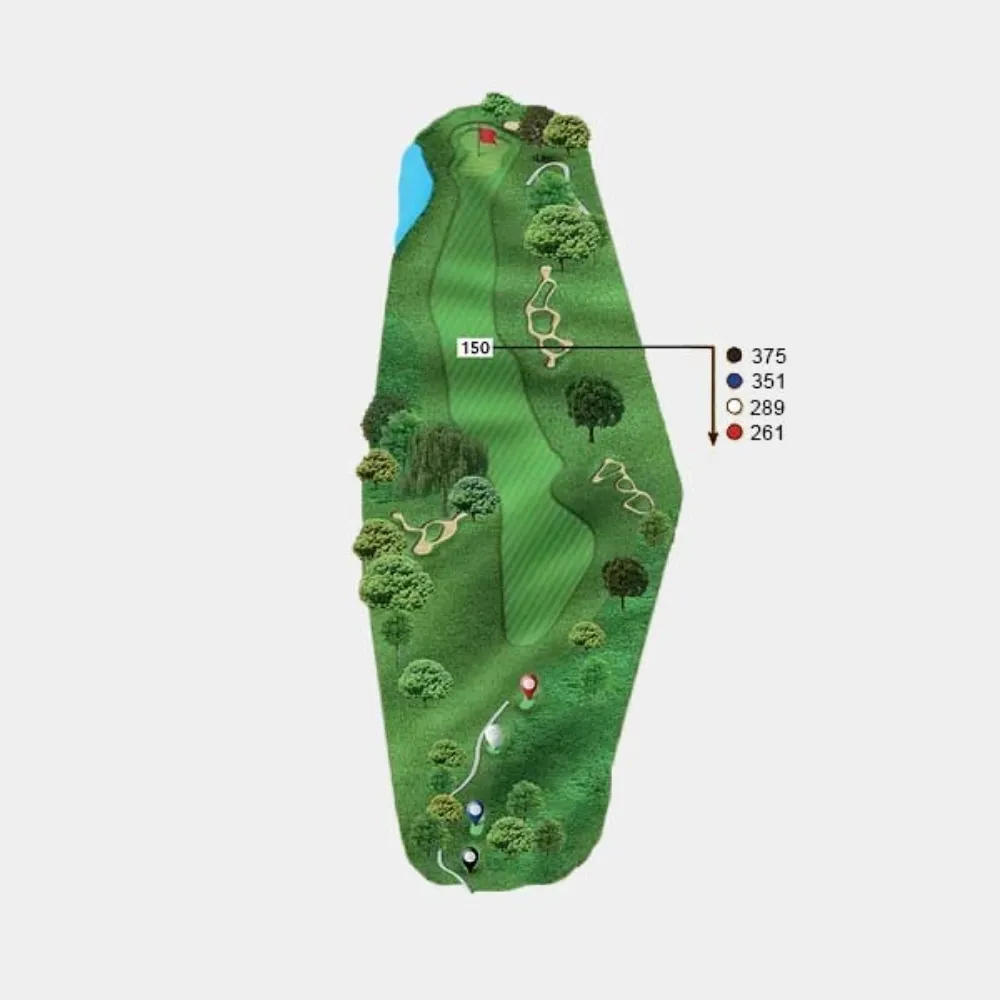
Black: 375
Blue: 355
White: 288
Red: 267
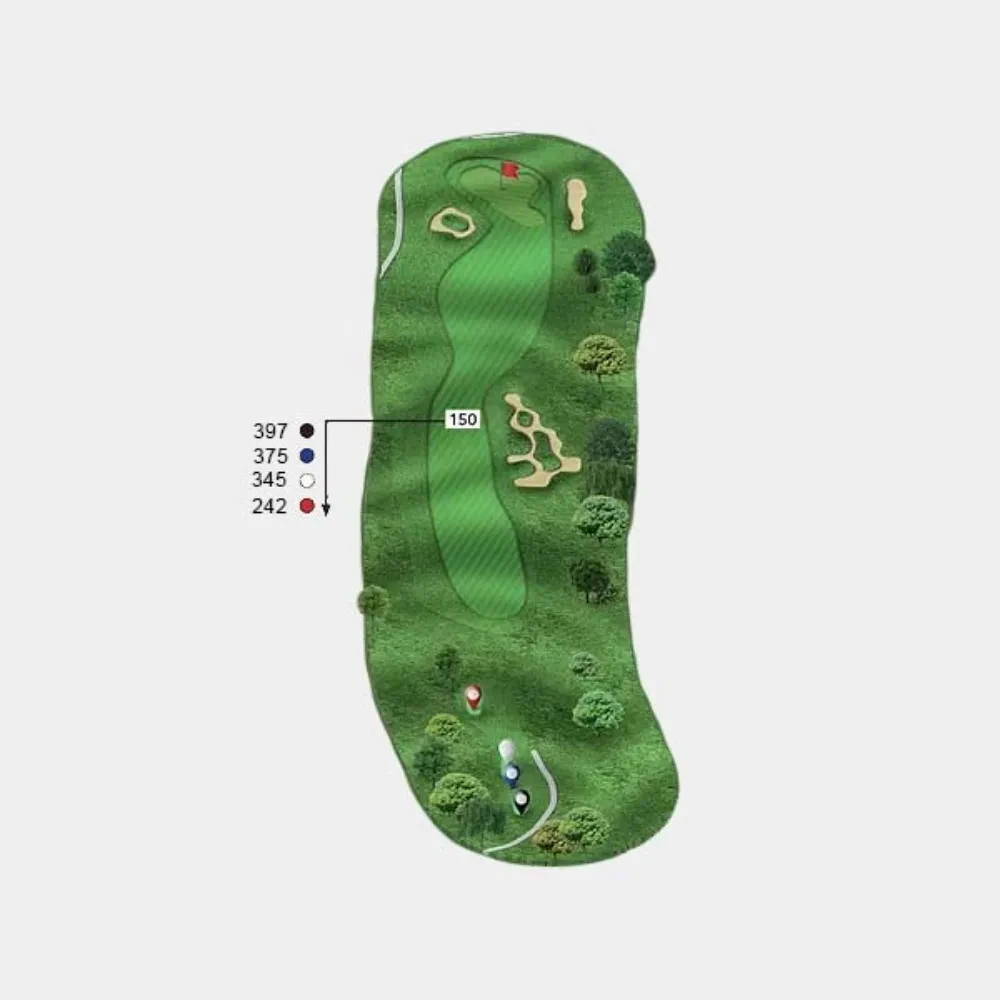
A fairway wood or long iron shot down the center is ideal. Avoid OB right and the water hazard left. Everything slopes right to left here, so the tee ball that ends up at or right of the trees on the left will leave an iron to this two tiered green.
Hole 5
Black: 406
Blue: 382
White: 354
Red: 308
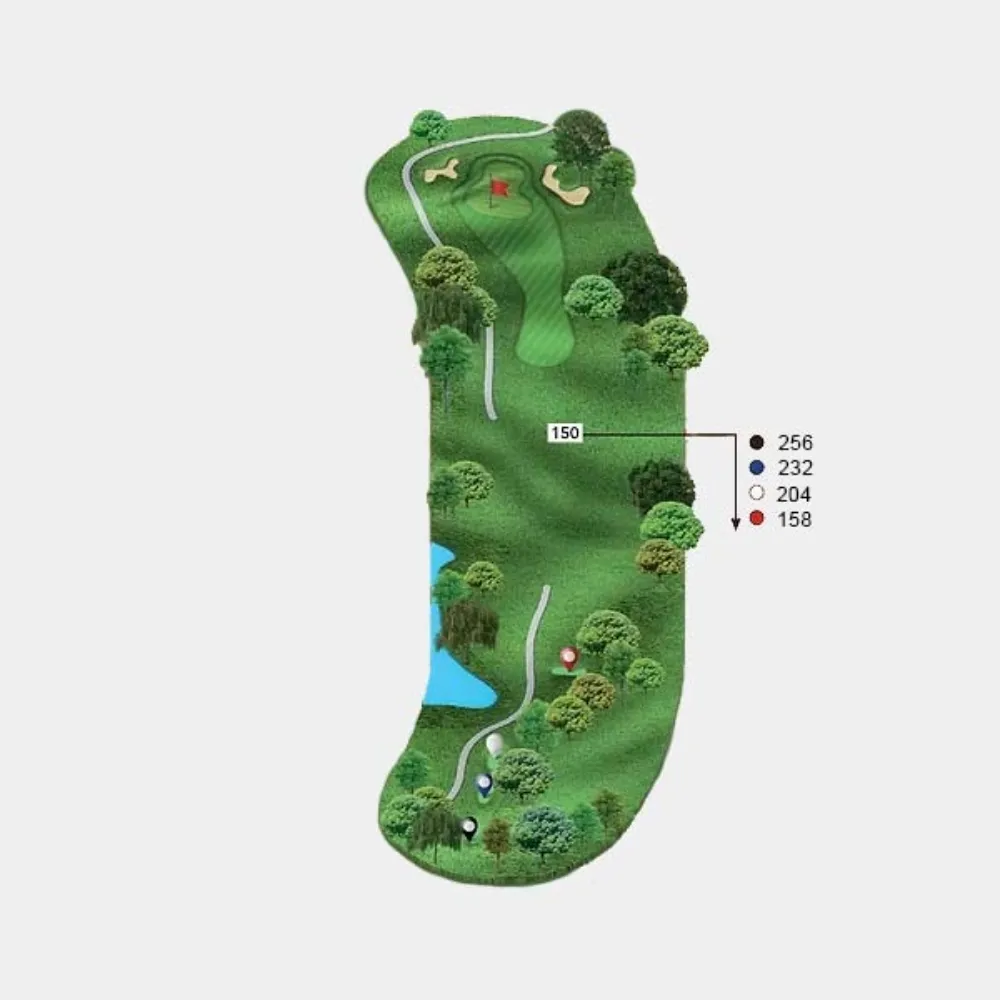
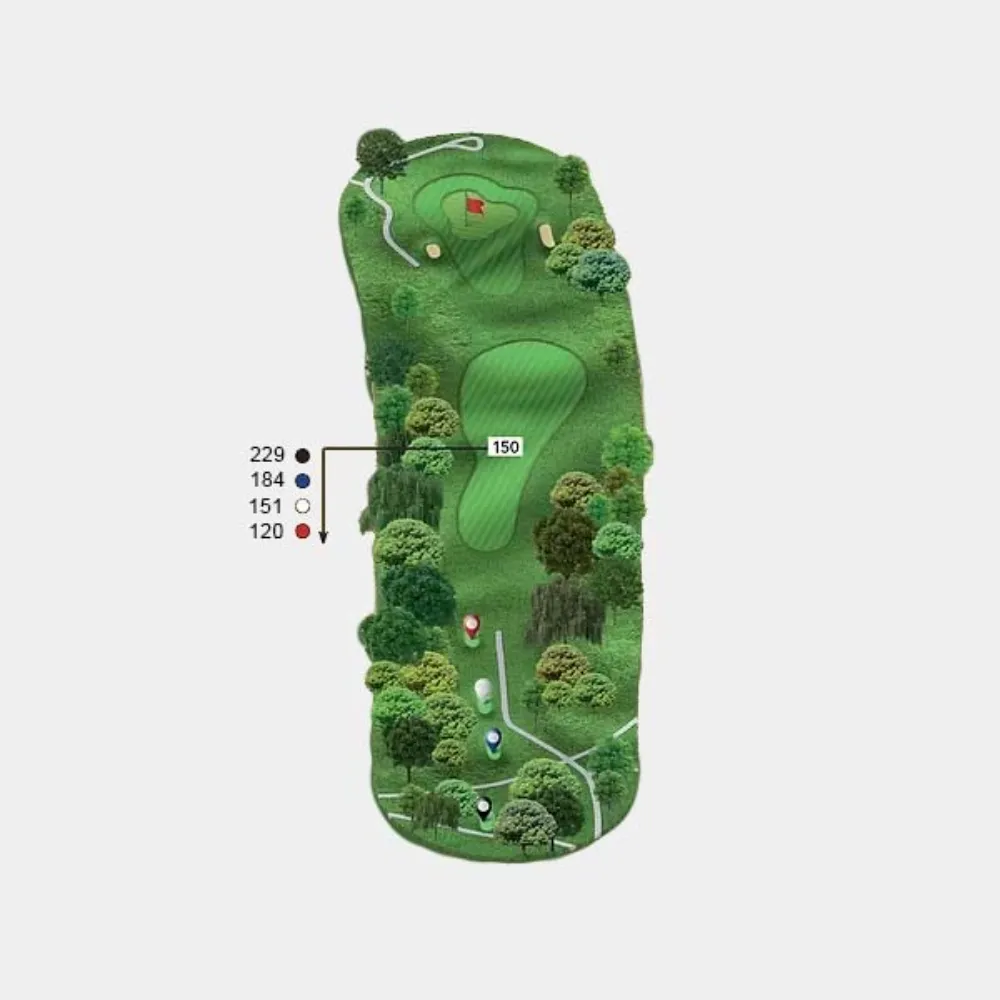
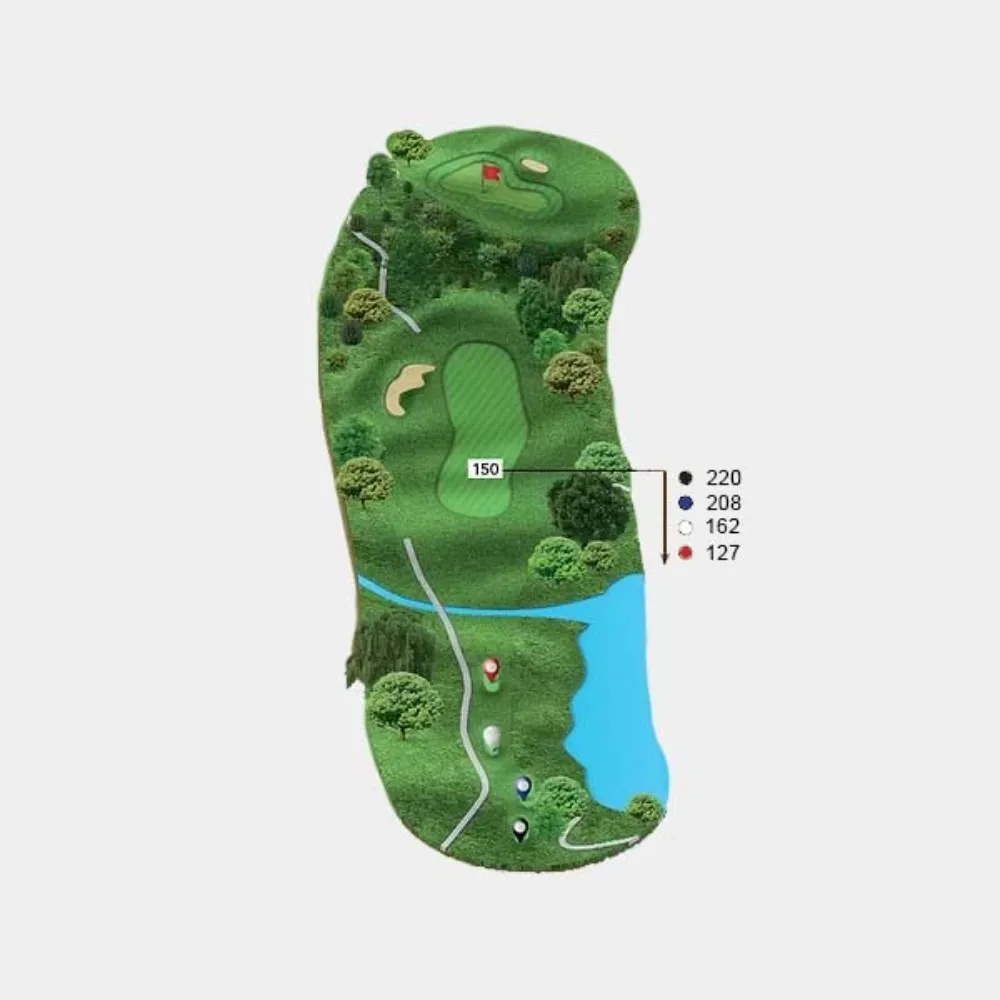
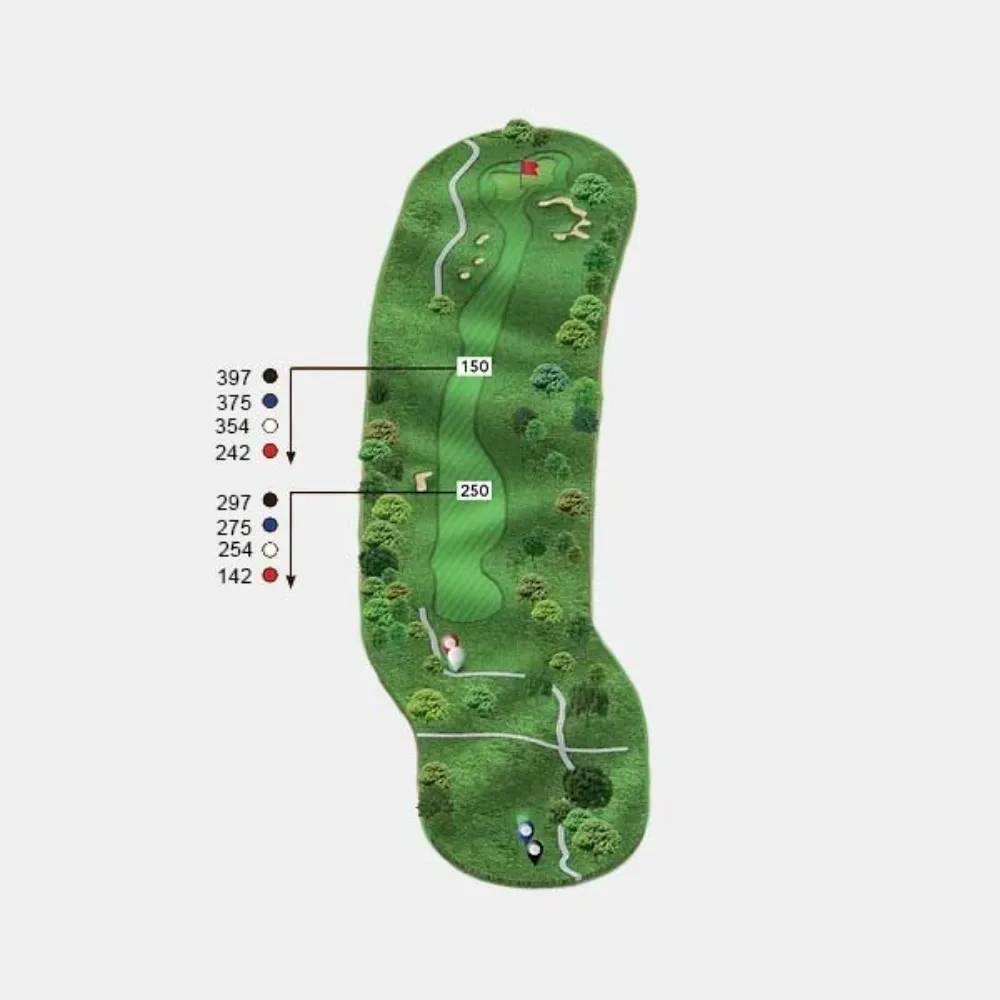
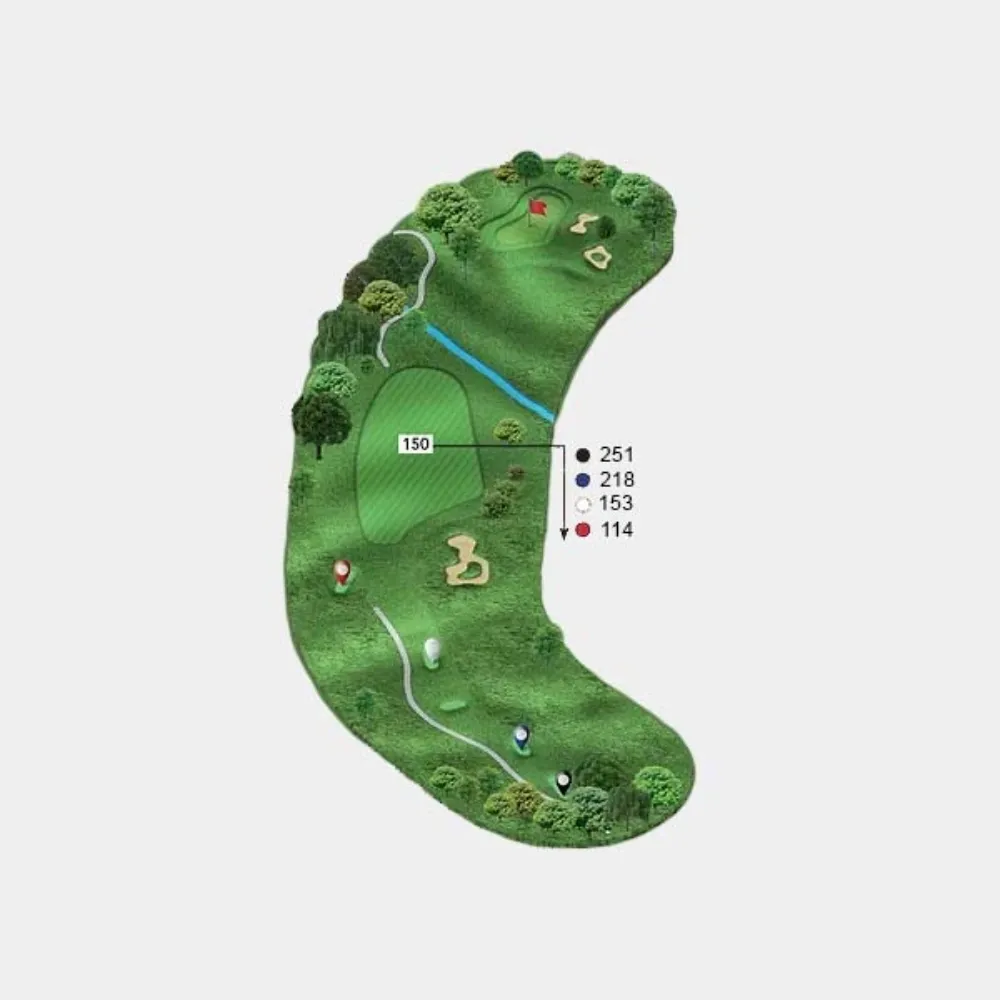
Lay-up short of the carry rough, the 150 pole is your best target, for the best angle to the green through the wind-break of trees. The green is long and narrow with bunkers on both sides.
Hole 6
Black: 545
Blue: 518
White: 482
Red: 457
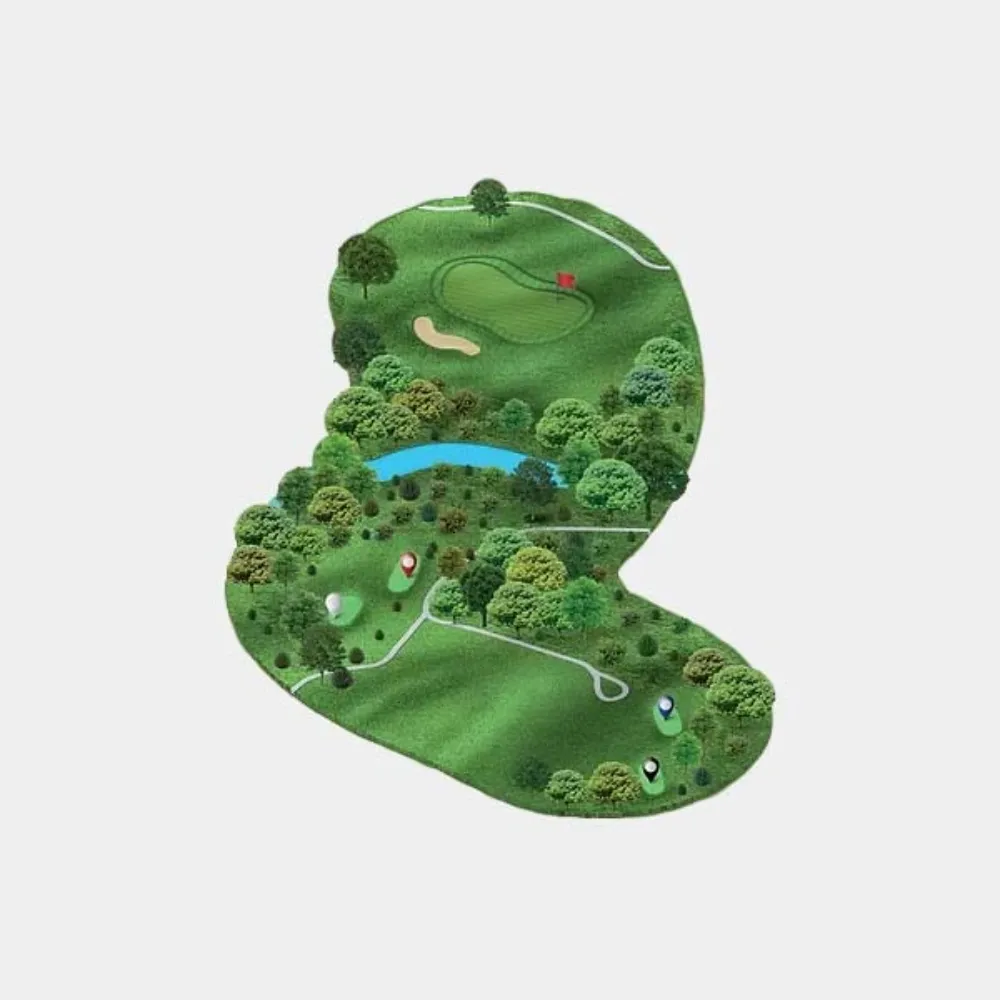
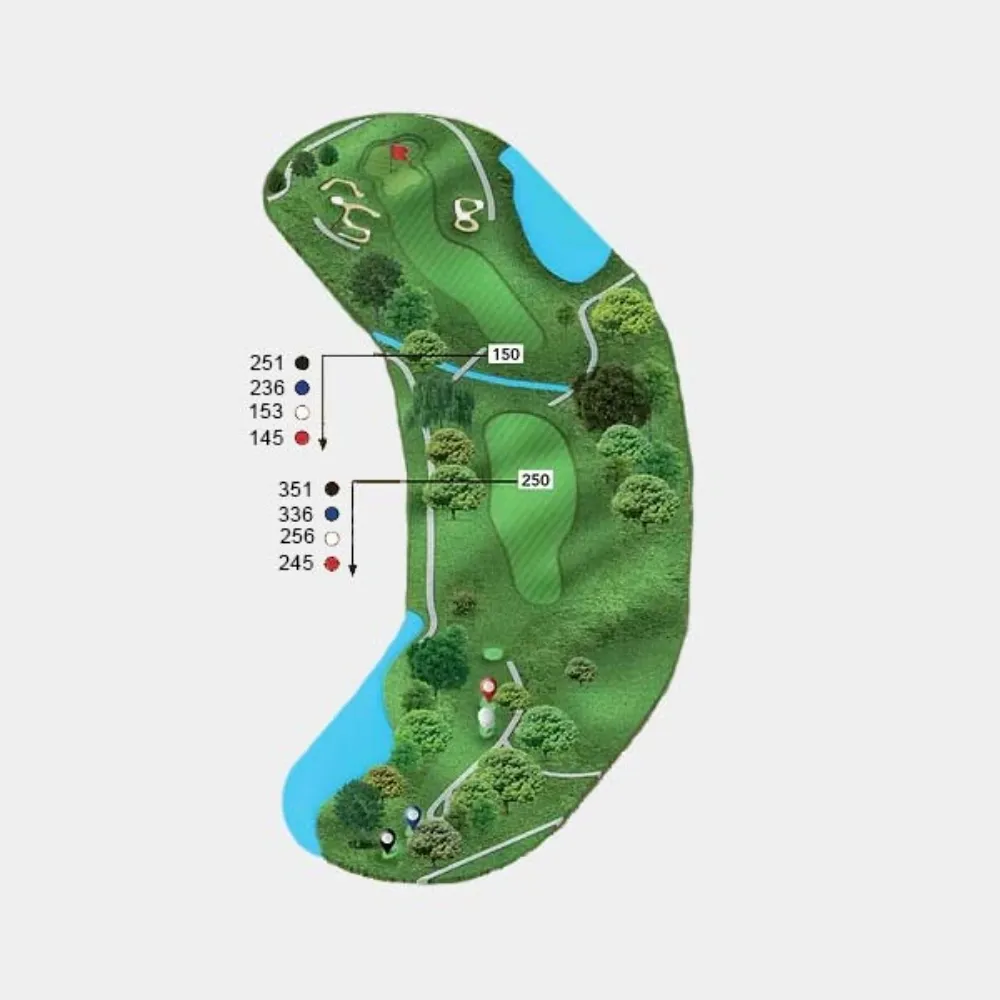
The right arm of the lake extends across most of the fairway. It is best to lay up to the right. Second shot for most should favor the left center and be played short of the carry rough in front of the green. Uphill third shot to t along narrow green.
Hole 7
Black: 379
Blue: 334
White: 301
Red: 270
Anything hit left center of the fairway is in danger of going into the lateral water hazard left hand tree line. There is more room to the right than you can see from the tee. The prevailing wind tends to move the ball right to left.
Hole 8
Black: 190
Blue: 158
White: 125
Red: 107
Shorter par 3 over the canyon is the most scenic hole on the course. The only place to miss the green is long and left. Don’t let the wind fool you here, it will knock the ball down at times. Don’t underclub.
Hole 9
Black: 390
Blue: 369
White: 315
Red: 297
Two tiered hole with a lay-up tee shot of 200+/- yards towards the rocks in the middle of the fairway. Long second shot to a well-guarded green. Lateral water hazard on the entire left side through the green and the trees on the right.
Hole 10
Black: 307
Blue: 277
White: 243
Red: 215
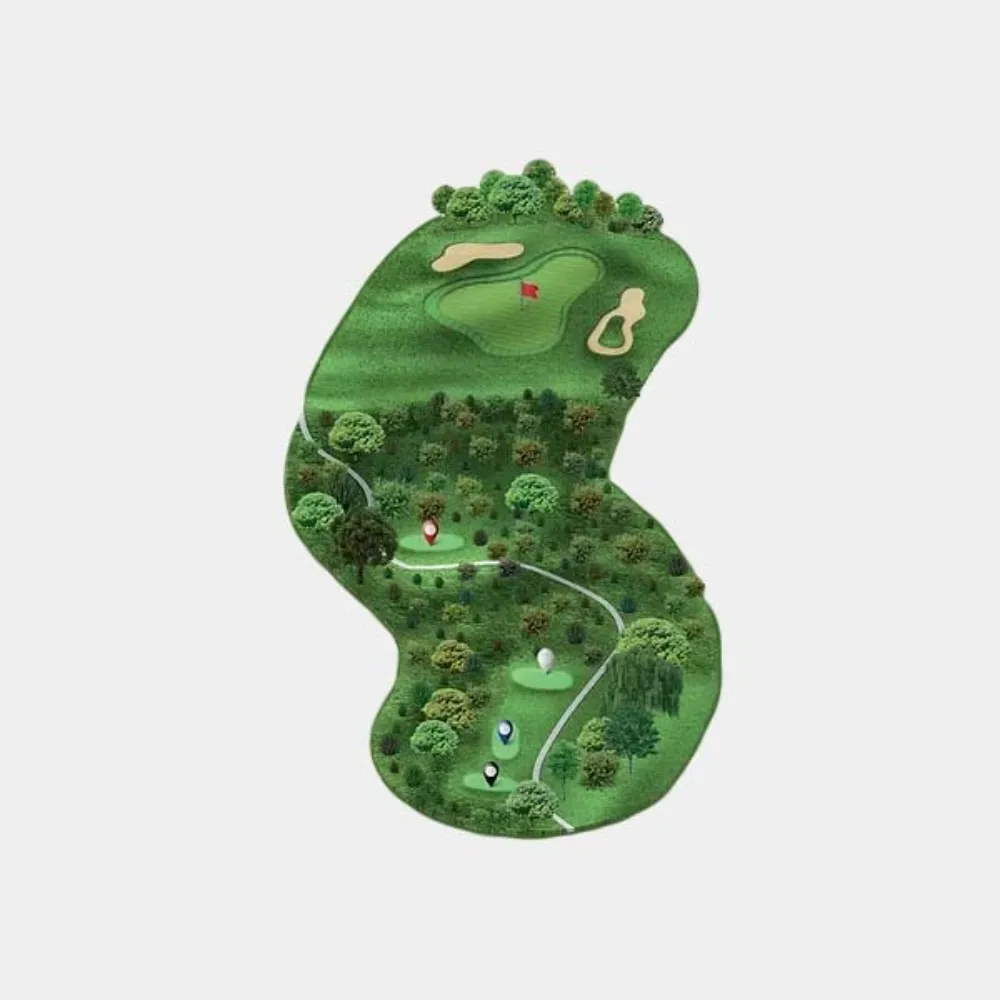
A lay-up hit to the left of the fairway and far out enough to avoid the trees on the right. From the Blacks/Blues 200, Whites 190, and Reds 160. A temptation to drive the green when wind conditions are right may not pay off.
Hole 11
Black: 370
Blue: 358
White: 312
Red: 277
A difficult hole. Tee shots tend to run forward and to the right, favor the left side of the fairway. The second shot is uphill and all carry, usually requiring more club.
Hole 12
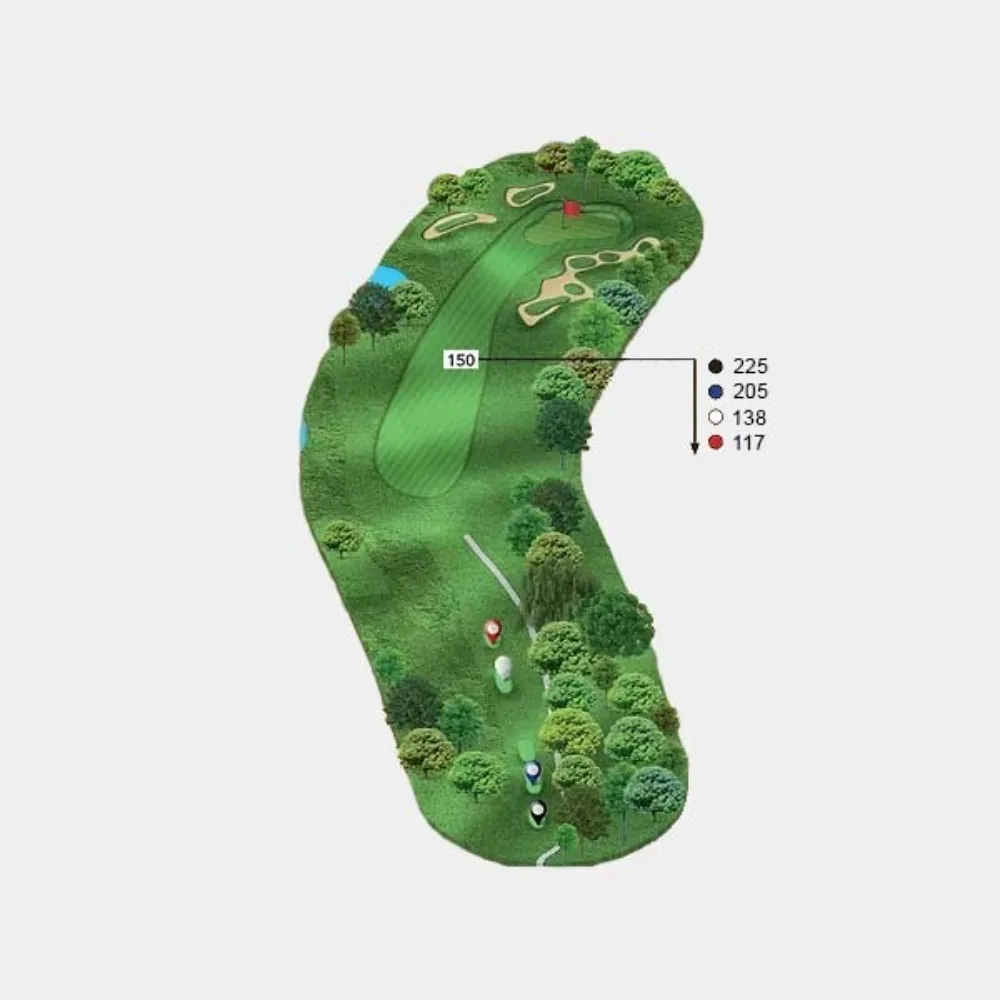
Black: 223
Blue: 207
White: 134
Red: 91
This hole usually plays downwind thus requiring less club than normal for the yardage. Trouble lies both right and left as lateral water hazards and as bunkers. Be sure to walk to the west side of the green and look at the 13th hole to see the landing area for your next tee shot.
Hole 13
Black: 501
Blue: 486
White: 406
Red: 395
The best tee shot will hug the right side with a little right to left. Beware of going too far right, there is a lateral water hazard along the entire right side. The fence on the left is OB, so accuracy is required. The second shot is usually into the wind.
Hole 14
Black: 547
Blue: 525
White: 504
Red: 392
Accuracy off the tee pays off. Favor the left center of the fairway to avoid the wetlands that jut out on the right side. Walk or ride ahead to see where you hit your second shot. There is more room to the right than left.
Hole 15
Black: 380
Blue: 365
White: 338
Red: 307
Avoid the right waste bunker, there are arms on the right side of the bunker that reach out 10–15 yards, so stay left. A bunker on the left side guards the approach to the green.
Hole 16
Black: 385
Blue: 373
White: 315
Red: 269
A most challenging hole. The carry from the Black is 200 yards, from the Blue is 185. The shortest carry is on the right side of the fairway; this leaves the best angle to the green. The second shot should favor the right side, with the front and left side lined by a lateral water hazard.
Hole 17
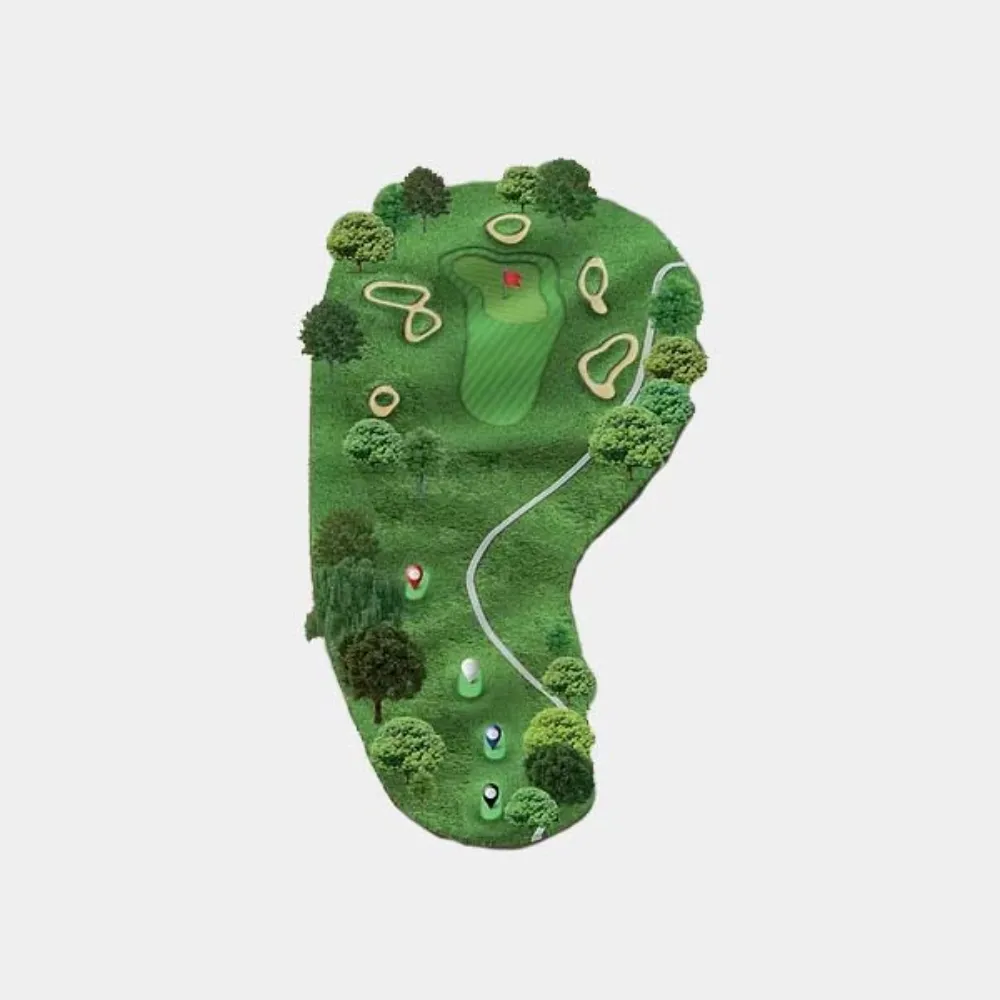
Black: 160
Blue: 148
White: 135
Red: 85
Most of the trouble is short of the green. This hole plays longer than the yardage when into the wind. Choosing the proper club is difficult, but short is worse than being long.

